West Virginia School of Osteopathic Medicine
Student Printing
Printer Names and Locations
- STU_1_BW - Tech Building Upper Lobby
- STU_2_C - Tech Building Upper Lobby
- STU_3_C - B306 – 3rd Floor Main
- STU_4_C - Tech Building Lower Lobby
- STU_5_C - Student Center Mail Room
- STU_6_C - Library 24 HR Area
- STU_7_BW - Main Building Hallway – MSBS Classroom
The IT Department provisions specific network printers across campus for students to print academic related material. Each student is allotted a specific amount of copies within an academic year for printing. Once a student has exceeded this amount, they will be billed by the AR Department in May. The student print count information is based on the individual student account used to log into the network when printing. A student may inquire with the IT Help Desk to review their print count information throughout the academic year.
- 7,000 Page Allocation, exceeded amounts will be billed by AR Department in May.
- Color prints @ .08 and Black/White @ .05 per page
- Special consideration should be given when printing PowerPoint presentations for color and the # of slides per page
- Copies will be restricted to 1,250 and will require a login of Banner Student Id minus the @ symbol. Once the threshold is reached a request for reset will need to occur after payment to AR Dept. $100 for every 1,250 thereafter. First 1,250 are free! 250 copies are allowed on each color printer in Technology building, Library, and Student Center.
- Color printers allow scan to email
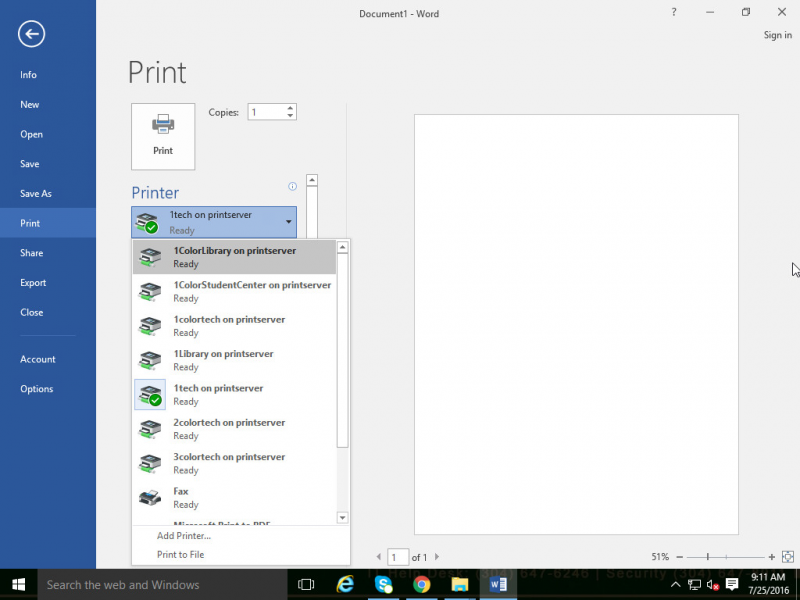
- Print Queues
Tips to maintain Print Count
Course slides can contain a large number of slides for each power point presentation.
Both the applications on your computer and the printers on campus have options to print more than one slide (or page) onto the same sheet, saving you print count pages in the process. Below is an example of two methods you can use to print your material while saving paper, toner, and most importantly your page counts.
Method 1 - Inside Application
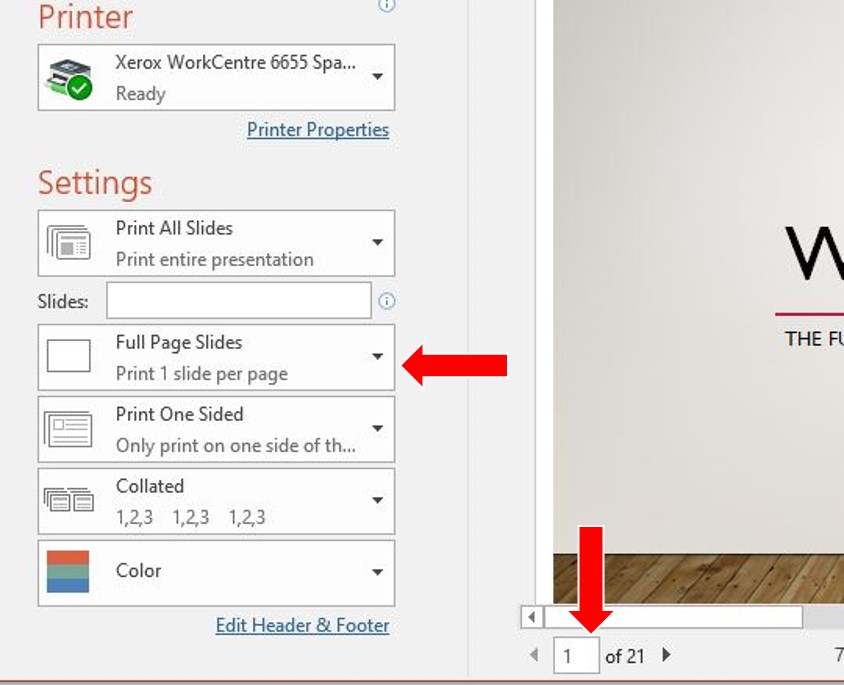
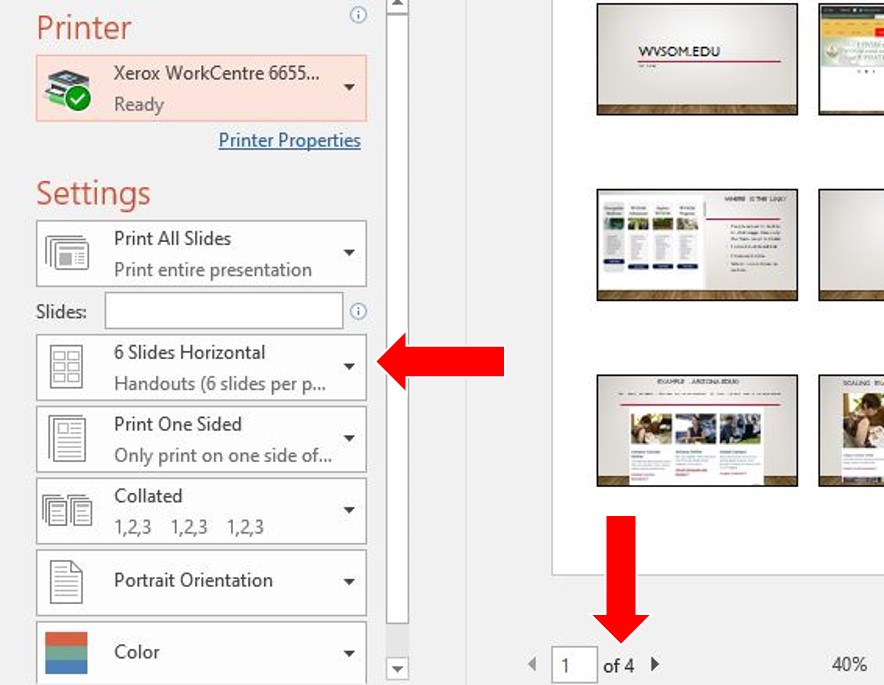
When navigating to the print screen within PowerPoint (Ctrl+P), you are presented with the print options screen. This is where you will select the pages, or slides, you would like to print, the amount of copies and other options such as the layout. The layout section is where you will want to select handouts, 2, 3, 4, 6, or even 9 slides per page.
In our example we select 6 Slides Horizontal on our 21 slide PowerPoint which takes our page count down from 21 to only 4 pages.
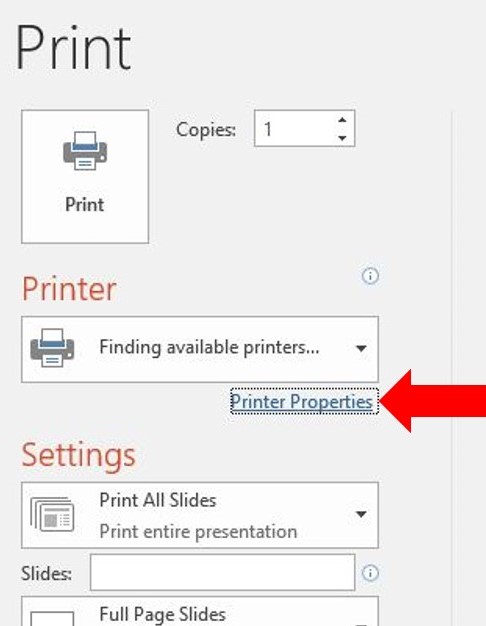
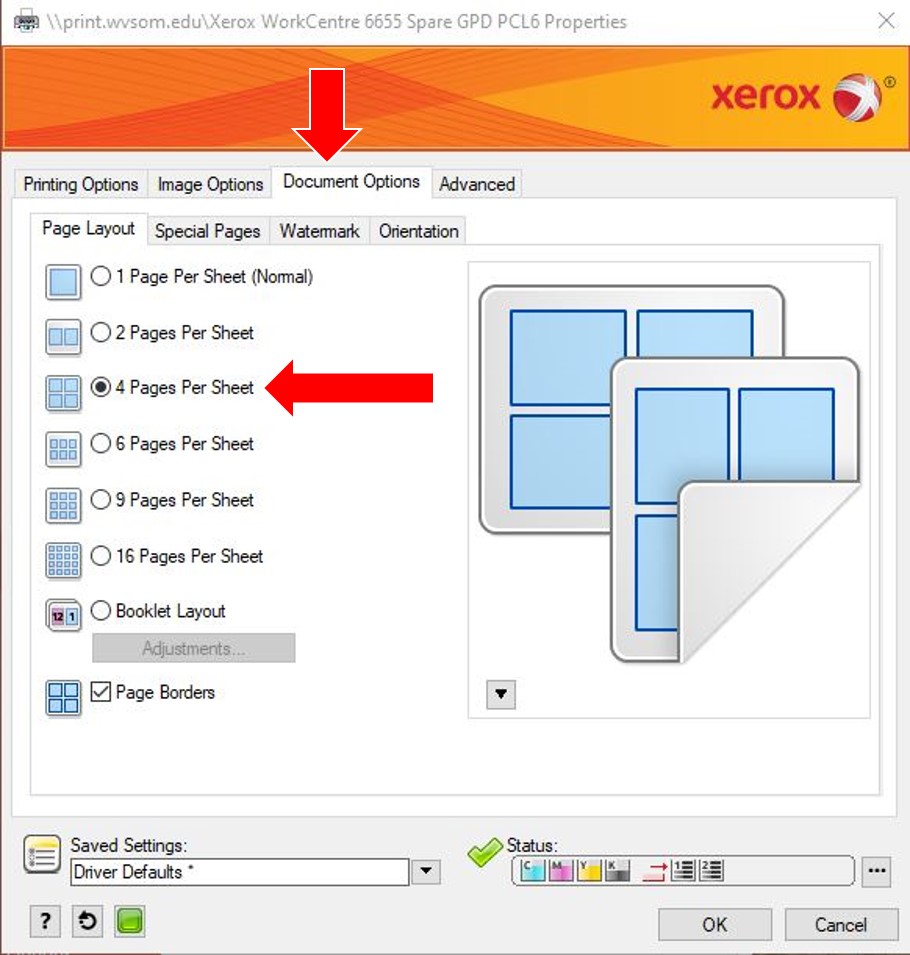
Method 2 - Using Printer Properties
The Xerox printers on campus have multiple features, such as whole punching, stapling, 2 sided printing and multiple pages per sheet. In most applications (Word, PowerPoint, Excel, etc.)the features of the printers will be accessed via Printer Properties. If printing from Google Chrome you will want to select Print using system dialog...(Ctrl+Shift+P) and then select your printer and press Preferences
Once in the Printer Properties or Preferences you will navigate to the Document Options->Page Layout and select the number of pages per sheet you would like. When using this method the page count preview at the bottom of Microsoft applications will not display correctly because the printer is processing the request after the pages or slides are sent, instead of the application sending the pages already condensed.
Important note
Make sure not to combine both methods or the processes will be stacked. For example if both methods were selected simultaneously using 6 Slides Horizontal in PowerPoint and 4 Pages Per Sheet within the printer, the 21 slides would end up on one sheet with 4 blocks, 3 of the 4 blocks containing 6 slides each and the last block containing the remaining 3 slides (with room for 3 more) making them nearly impossible to read.
Using either or these methods will help you conserve your included page counts. If you have any questions please contact the help desk. You can also check your page counts if you think you maybe getting close to being charged.
Installation Instructions for Student Printers
This document highlights the procedure to map network printers on campus for student use. This procedure must be performed while on campus and your computer must be successfully connected to the local network.
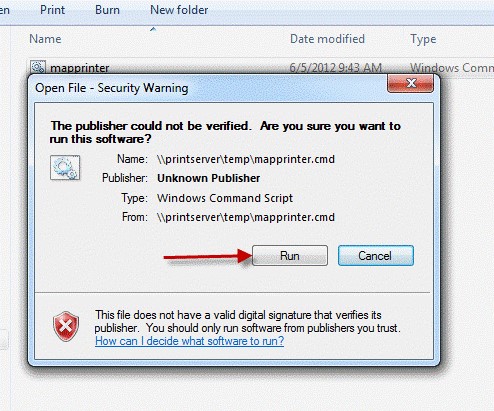
Double Click the Map Printer icon located on the desktop.

After clicking the icon a window will appear asking for permission to run. Click “Run”
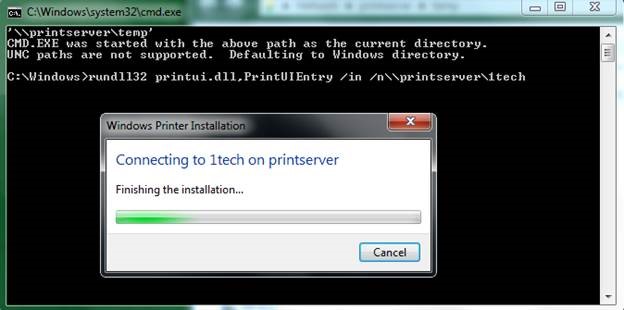
A command window will appear as the various print queues are mapped. This window will close once the installation is complete.
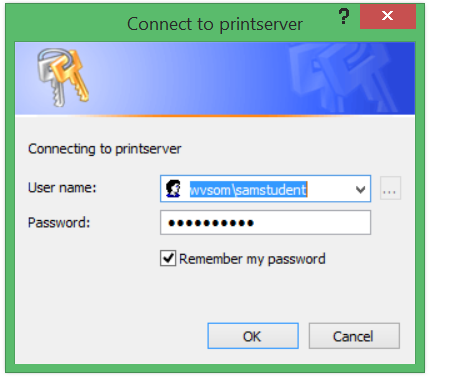
If presented with a Connect to printserver dialog box enter your credentials. The user name field must begin with wvsom\ in addition to your normal account name. The second field will be the current password value. Enable the checkmark to the left of the text of “Remember my credentials” and click on the OK button.
A reboot of the laptop may be necessary in order to complete the installation. Once the system has rebooted the various print queues should now be present and available to use.
When printing from an application, simply select the print queue of the desired printer.